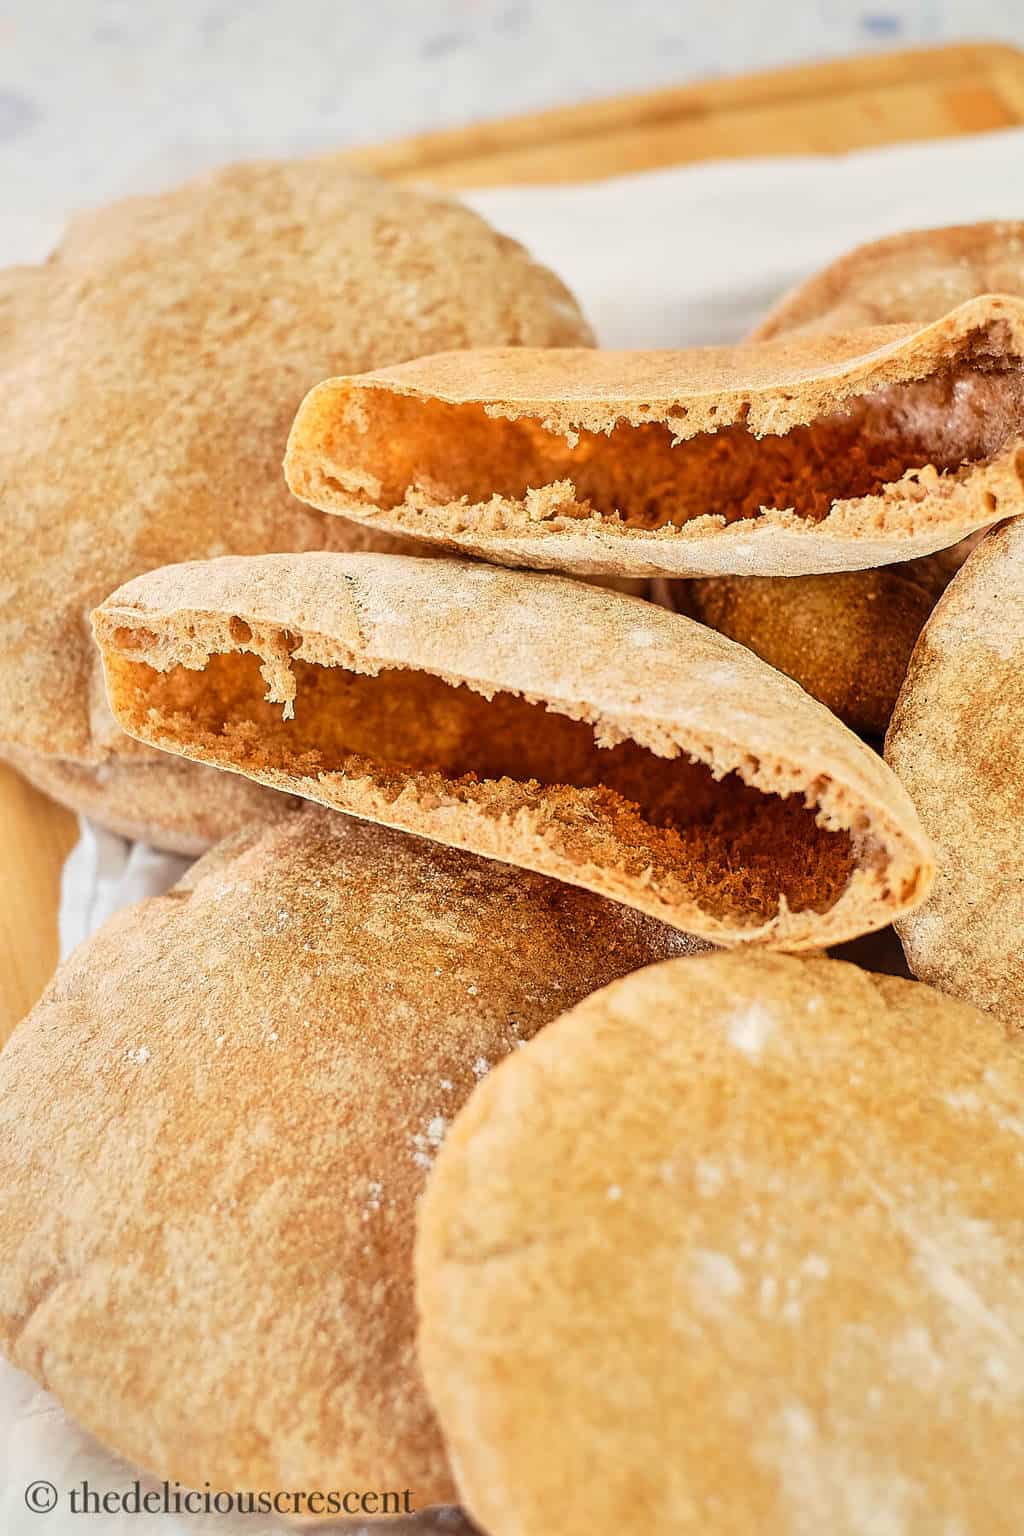
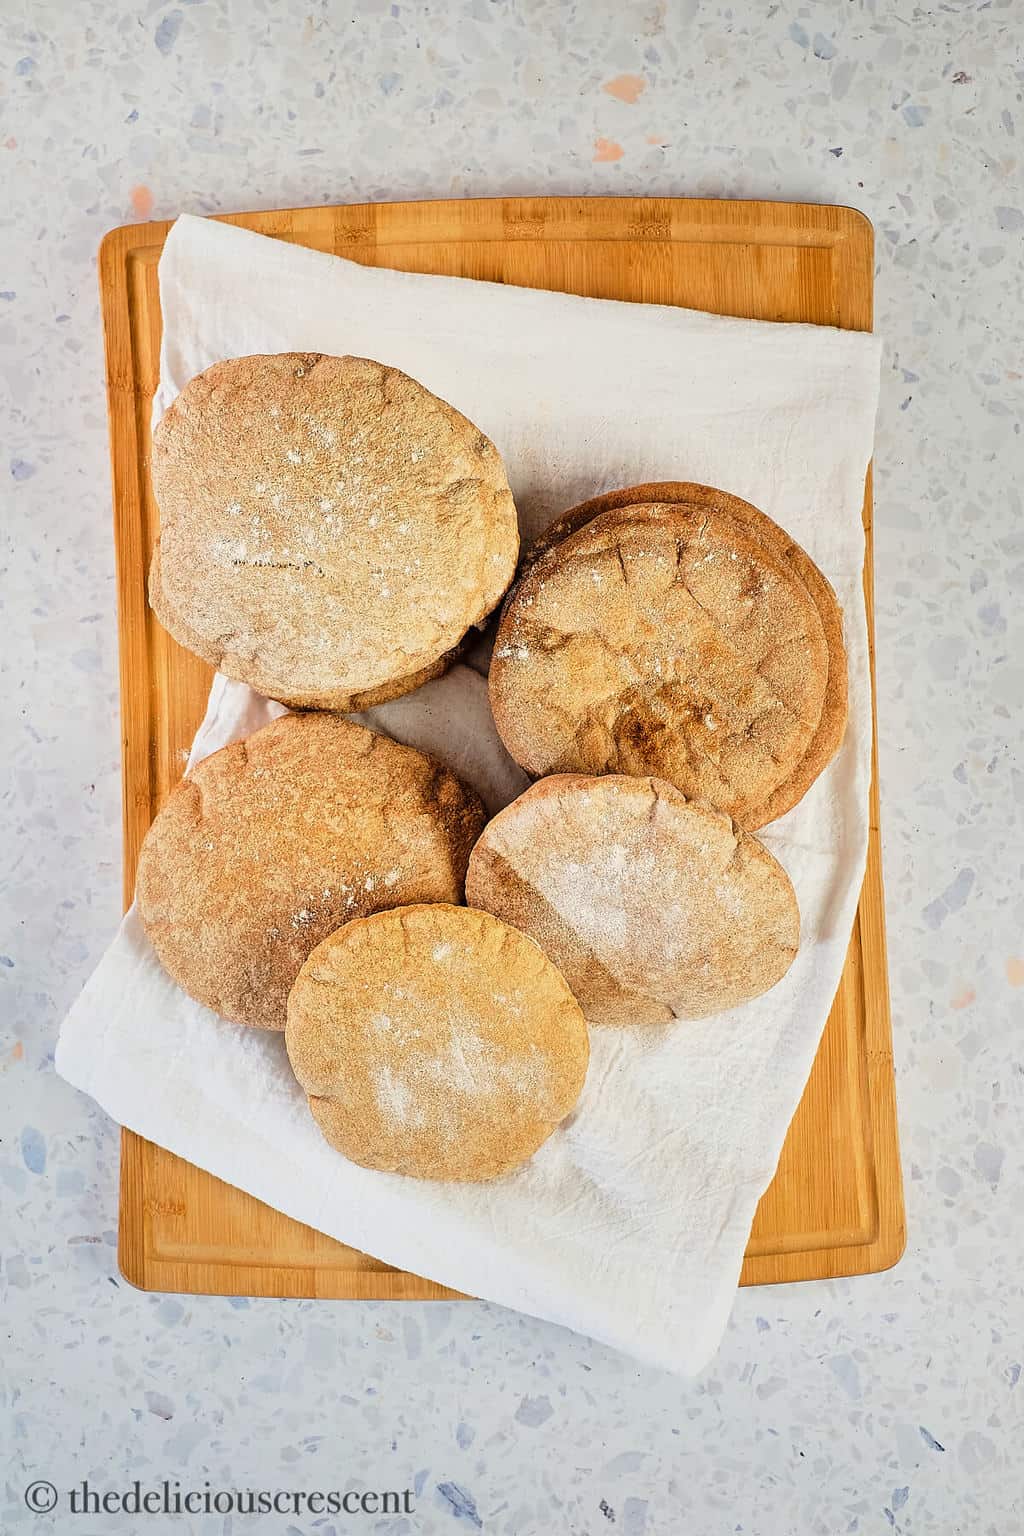
Whole wheat pita bread that is hearty, soft and puffed up. This simple and easy recipe will give you perfect pockets every single time, while keeping it wholesome and delicious.
These pitas are great with White Bean Hummus.
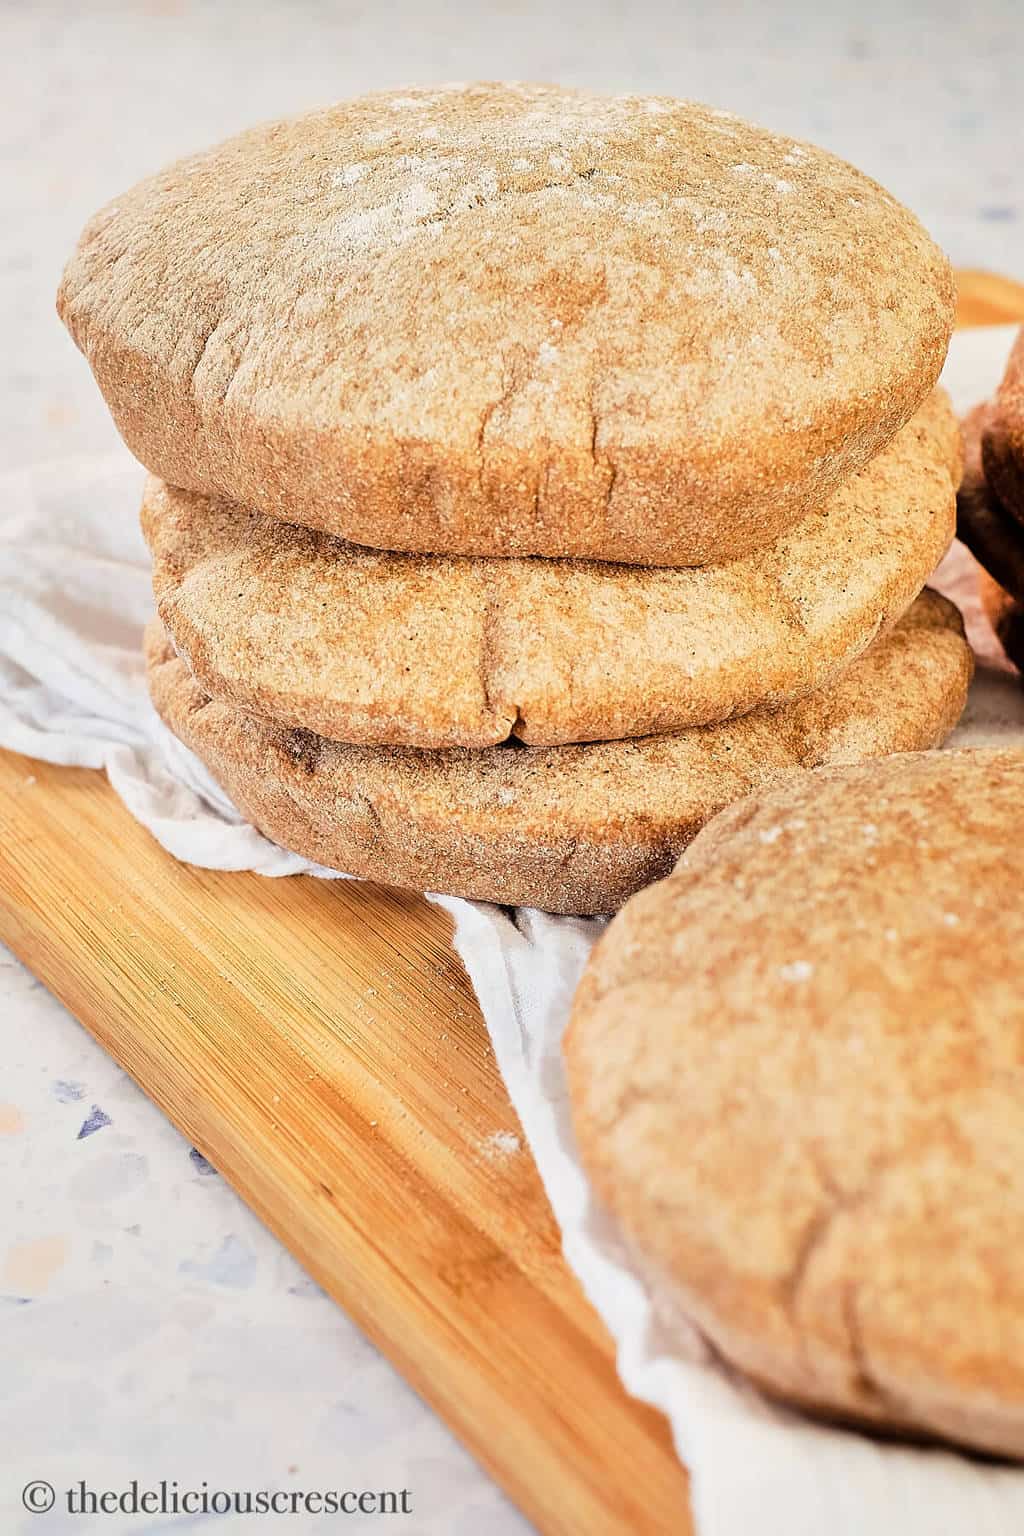
Whole Wheat Pita Bread
Getting the pita to puff up and also stay soft enough, is pretty easy.
Here, I share with you techniques and tips to make perfectly puffy and hearty whole wheat pita breads at home. These are so much better than store bought pita and are surprisingly easy to make.
The preparation time itself is short. Most of the time is just inactive resting time. Like for all yeast breads, learn and experiment it in your own home. With a few tries, guaranteed you will make perfect pitas.
Ingredients
Dry yeast, Water, Whole Wheat flour, Vital Gluten, Salt, Olive oil
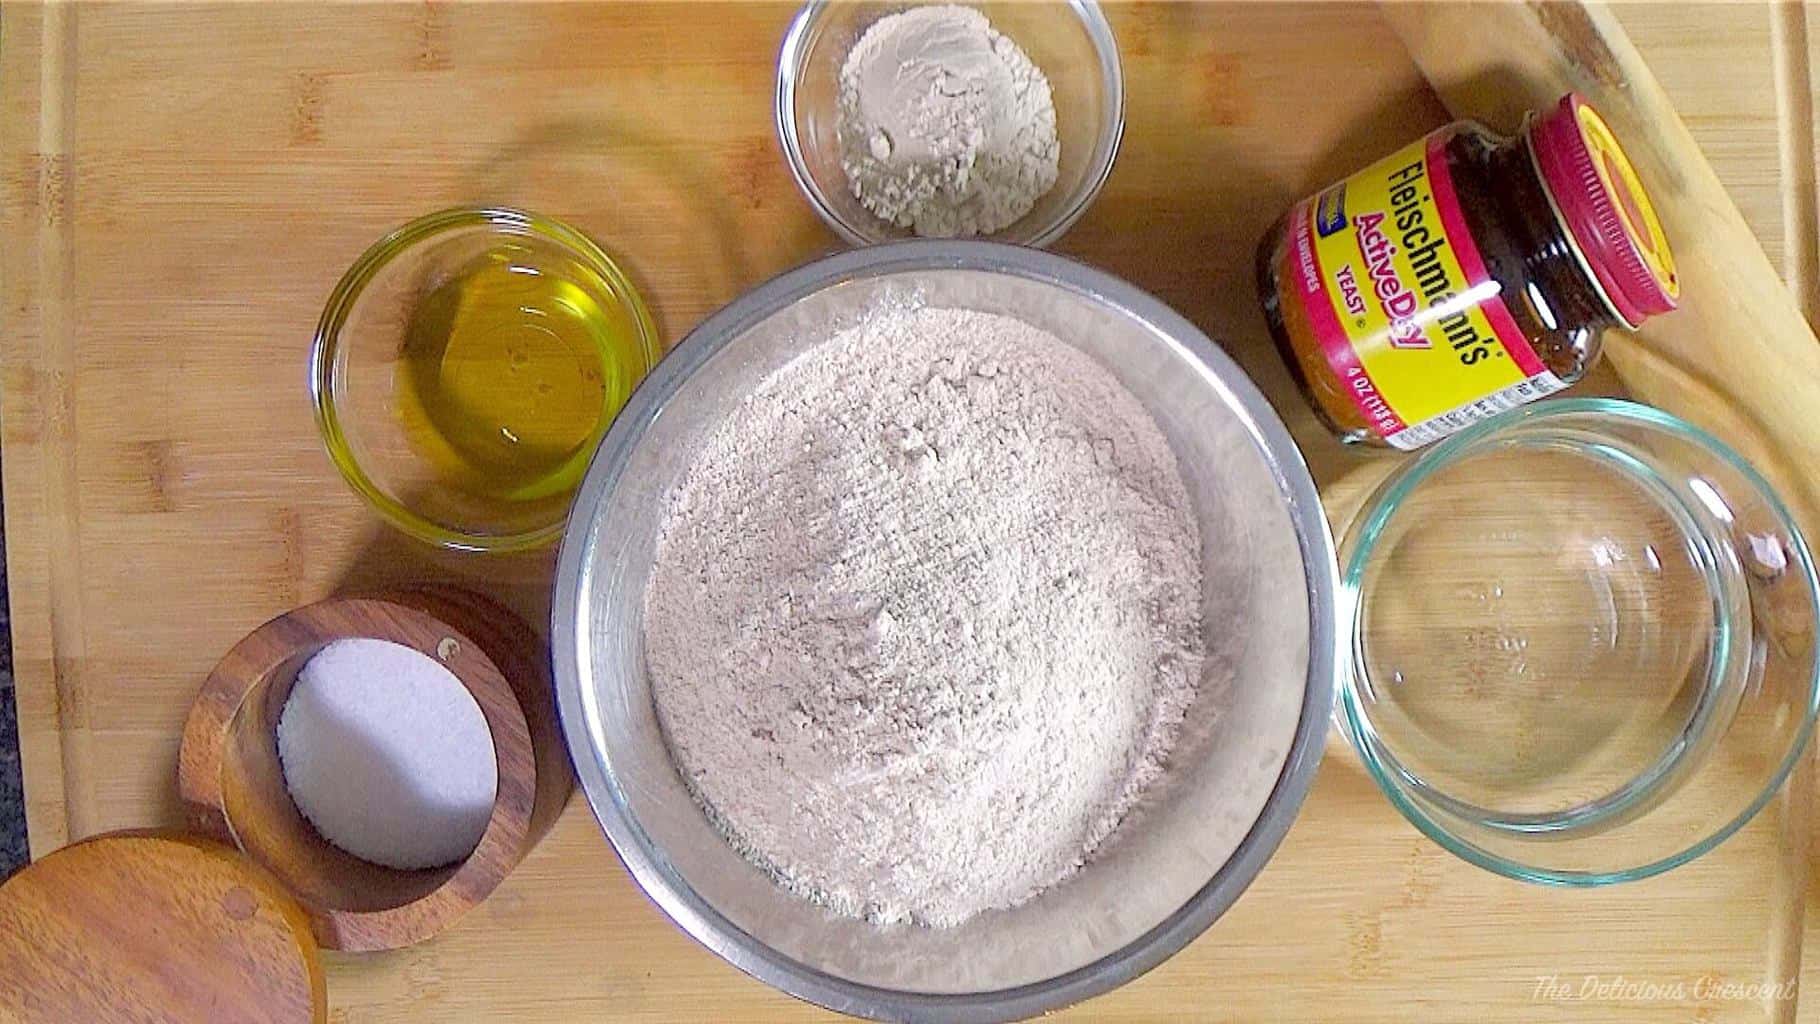
- I used regular whole wheat flour. If you prefer, you can use white whole wheat flour, which is lighter in color and milder in flavor but is still whole grain.
- If you don't have vital gluten, combine whole wheat flour with bread flour (or all purpose flour).
How to Make Pita
Below is a brief overview of pita bread making. Full recipe at end of post.
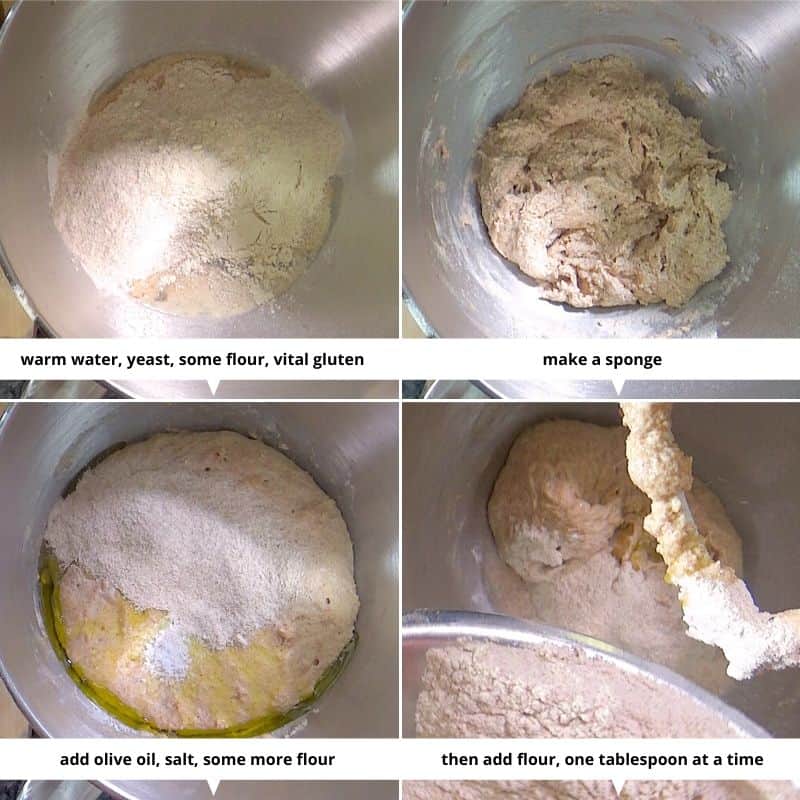
- Make a sponge with warm water, yeast, some flour and vital gluten. Let it rest some minutes.
- Then add olive oil, salt, some more flour and combine. Gradually add flour, one tablespoon at a time until dough is soft but not too sticky.
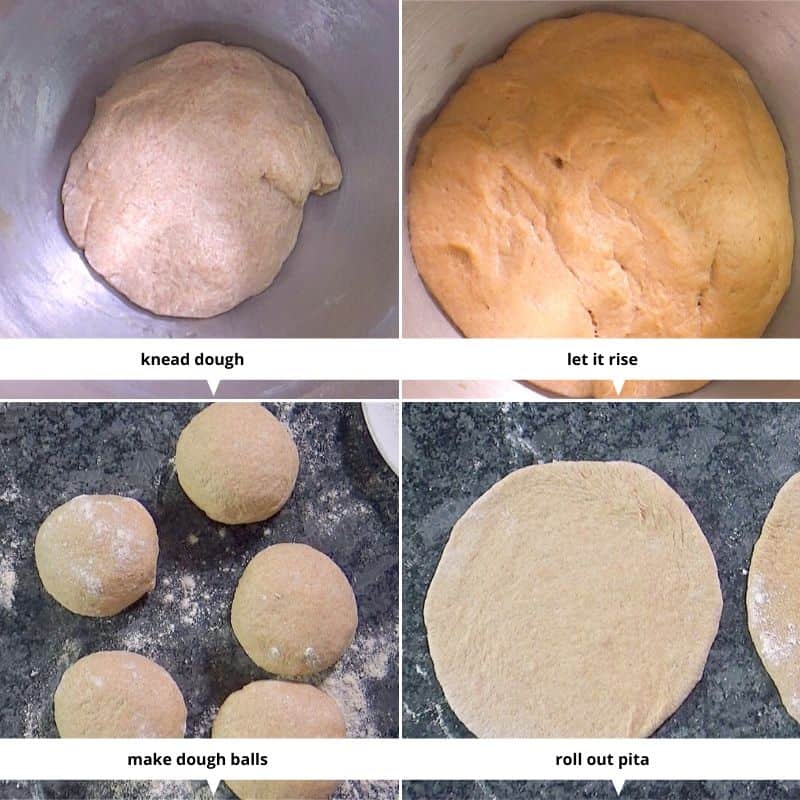
- Knead dough in stand mixer or by hand, until it is soft and elastic.
- Let it rise in a warm place until double in bulk.
- Divide the dough into balls and let it rest. Then roll out pita rounds.
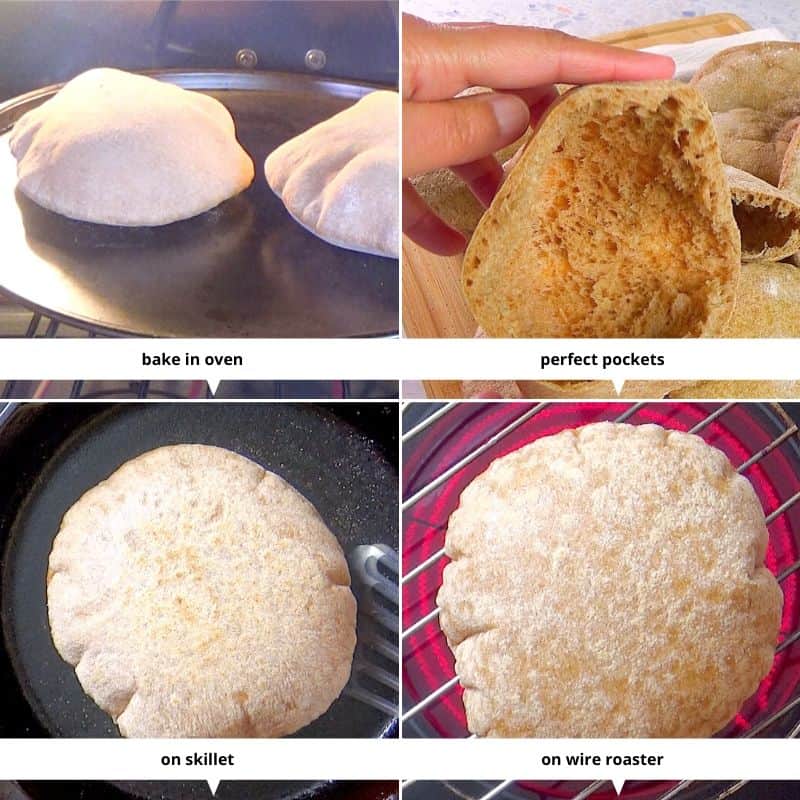
- Bake pita in a very hot oven until nicely puffed up. Stove top instructions included.
FAQ and Extra Tips
Whole Wheat Baking
- Buy fresh flour from stores with high turnover rate and use in couple months, as whole wheat oxidizes. Store it in fridge or freezer to prevent rancidity due to oil-rich germ.
- Whole wheat flour has sufficient protein for gluten development, when we follow the proper technique. However, vital gluten can be supportive, and especially useful for new bakers or most home cooks.
New to Bread Baking
- Start with all purpose flour as it is easier. Then gradually increase the quantity of whole wheat flour used in your recipes. Once you perfect gluten development with whole wheat flour, you may not need to use vital gluten in several recipes.
- Yeast baking is about touch and feel, and not so much about exact flour measurements. Temperature, climate, humidity, altitude, the packing of your flour and some other factors can influence the quantity of flour needed for a recipe. Therefore, focus on the dough characteristics as you use extra flour.
Increasing Whole Wheat in Baking
- It takes time to convert people who are used to white bread to whole wheat breads. So, do it gradually.
- Try white whole wheat flour and increase it gradually. Start with ⅓ substitution and scale it up as per acceptance.
Increasing fiber in your recipes even to a smaller extent may be helpful.
Mixing Flours
- If you don’t have vital gluten, then try combining whole wheat flour and all purpose flour. Knead the dough well.
- If using mixed flours or only all white flour, then you will need to use a little more flour for this recipe. Add a tablespoon at a time and go by the dough texture.
Yeast Activity
- To make sure the yeast is active, add a little sugar and watch for the bubbles — then your yeast is active. If your yeast is not active, all the effort will be wasted.
Baking Sheet or Stone
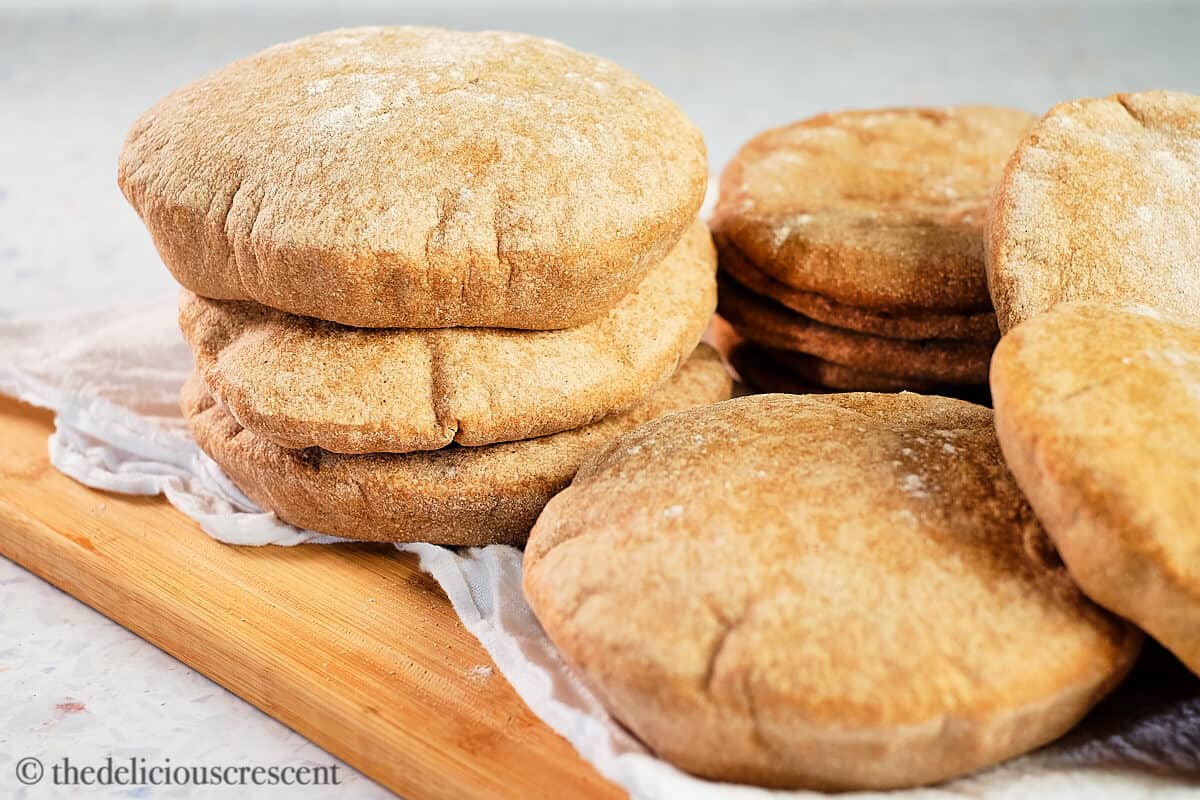
- Baking stone or cast iron pans provide a hot surface for pita breads to puff up. If you don’t have these, then try using an inverted baking sheet.
Pita Rounds Measurement
- Use pita dough ball weight (120 gm), measurement of rounds (7 inch) and thickness (¼ inch) as a guide to make sure your pitas are turning out right.
Puffy Pitas
- If the pitas don’t puff up, the oven is not hot enough or your skillet is not heated well.
- A tear in the dough can also cause the pitas to not puff up.
- Don't roll it too thick. The heat from the oven will create steam in the center and make the pitas puff up.
- If the pitas don’t puff up, they will still taste good. Use them to make pita pizzas.
Pita in Oven vs. Stove
- Pita bread made on stove tends to cook faster and are also more moist, but flatten out sooner. They will still have a pocket inside.
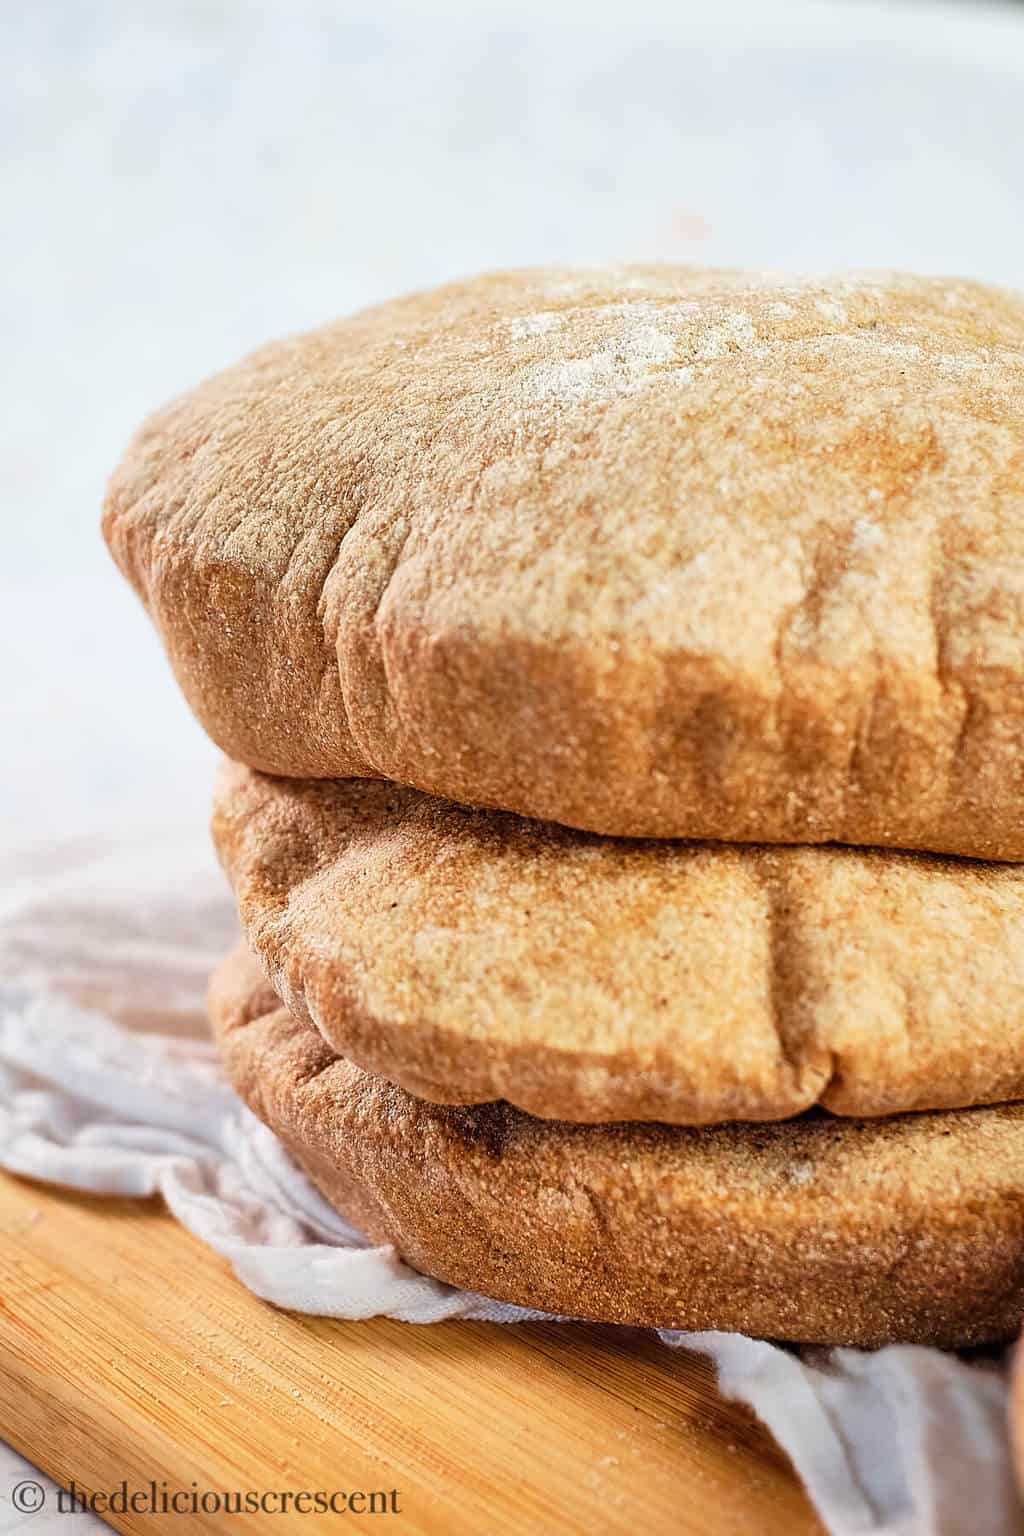
- The oven baked pitas will retain the puff longer, but will be a bit more dry on the surface, which is what is more common.
- Make sure the baking time is not exceeded, to prevent pita bread from drying out. Once they are puffed, give them 30 seconds to 1 minute and take them out.
Homemade oven pita breads baked at highest possible temperature and in shortest possible time will be the best.
Whole Wheat Nutrition
To know more about whole wheat flour benefits for gut health and more, check out the post on Wheat Rolls.
How to Serve
- Serve it with Healthy Hummus or Muhammara
- Make Sandwiches with Koobideh Kabob.
More Bread Recipes
- Barbari Bread (Persian Flatbread)
- Musakhan (Sumac Chicken Onion Flatbread)
- Crescent Roll Ring Recipe (With Tuna and Cheese)
- Quick Flatbread Recipe
- Whole Wheat Naan
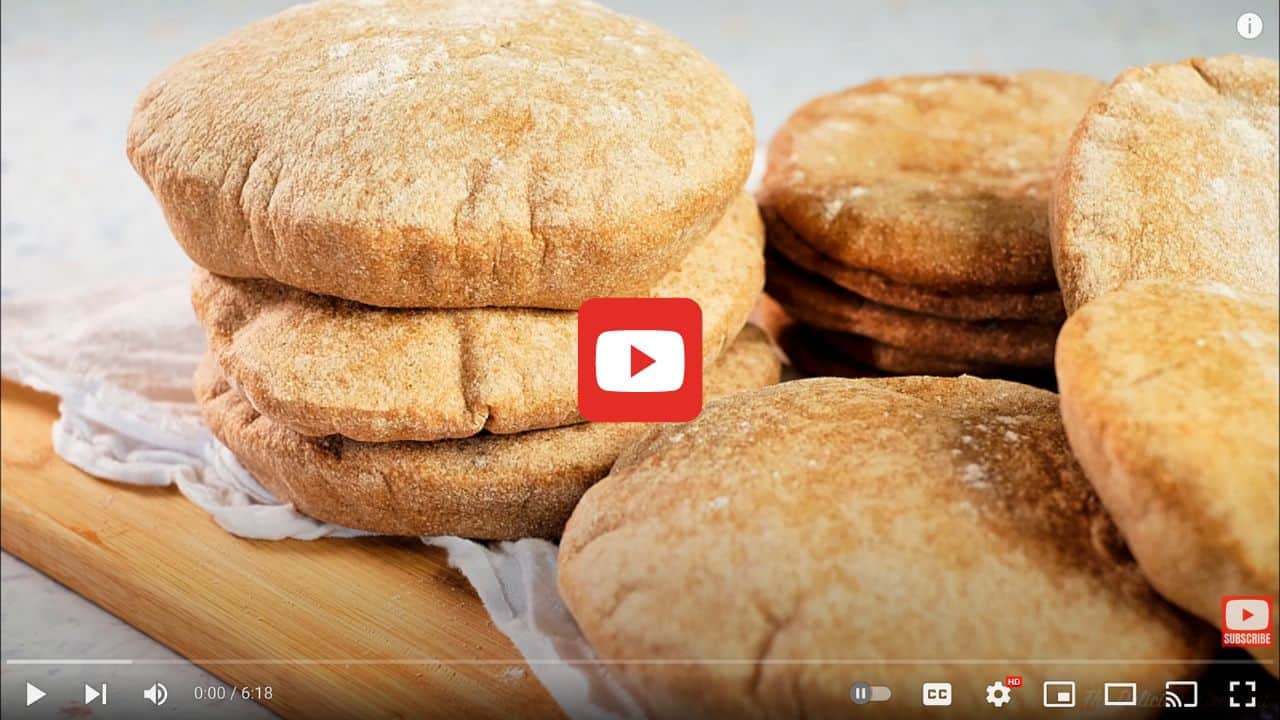
Full Recipe Tutorial Video
★ DID YOU MAKE THIS RECIPE? PLEASE COMMENT AND GIVE IT A STAR RATING BELOW!
Whole Wheat Pita Bread
Ingredients
- 1 cup warm water 110 degrees F
- 1 package active dry yeast (0.25 ounce)
- 2½ cups whole wheat flour divided
- 1½ tablespoons Vital Gluten
- 1½ tablespoons olive oil
- 1 teaspoon salt
- extra flour and oil as needed
Equipment
- Stand Mixer
- Baking Stone
- Baking Sheet
- Rolling Pin
- Cast Iron Skillet
- Wire Roaster
Instructions
Make Sponge
- In a stand mixer bowl, fitted with a dough hook, pour warm water, scatter the yeast and wait couple minutes until foamy. Stir in 1½ cups wheat flour and vital gluten. Cover with a moist towel and let it rest for 20 minutes.
Add Remaining Ingredients
- With the mixer running at low speed, add olive oil, salt, ½ cup flour. Gradually add remaining flour, 1 tablespoon at a time, until the dough is soft and slightly sticky.
Knead and Rise
- Knead the tough for 6 to 8 minutes at medium-high setting. As the machine is running, the dough should pull away from the sides and hold on to the hook. Use flour as minimally as possible.
- Properly kneaded dough should be soft, smooth, shiny and elastic. It should stretch without tearing. Check the window pane test.Tip: Whole wheat dough will not be like all purpose flour dough, but there should be considerable difference in extensibility before and after kneading.
- Place the dough ball in an oiled bowl and roll it to coat in oil. Cover with cling wrap or a lid and let it rise in a warm place for about 2 hours and double in bulk (inside an oven that is not preheated works well).
Dough Balls, Rolling Pita and Baking
- Preheat oven to over 550 degrees Fahrenheit - the highest in your oven. Place a baking stone, cast iron pan or an inverted baking sheet in the middle of oven.
- On a lightly floured surface, deflate the dough and divide it into 5 equal pieces (mine weighed 120 g each). Roll the dough into smooth round balls, pulling the seams and tucking them underneath. Cover the dough balls with kitchen towel or plastic wrap and allow to rest for 30 minutes.
- Pat each dough ball and roll it out evenly into a smooth 7 inch circle, that is about ¼ inch thick. Let it rest 5 minutes.
- Then slap the pita rounds on the hot baking stone. The side that was facing up on the working surface (exposed to air) should now be facing down and touching the hot stone or pan. Work with two or three pitas at a time, depending on the size of the stone/pan. Tip: If pitas are not puffing up, try a light spray of water on the top of pita before baking.
- Let it bake 2 to 3 minutes, until you notice few puffed up spots. Flip the pita and bake on the other side for 2 to 3 minutes until the pita puffs up nicely. Tip: Alternatively, let the pita puff up in 4 to 5 minutes without flipping, but this may cause the pita to be thicker on one side. Try and see what works for you.
- Remove from oven, let cool couple minutes, then wrap in kitchen towel and pack in ziplock bags, to keep them soft and prevent drying out.
Stove Top / Skillet (Optional Method)
- Brush a cast iron skillet lightly with oil and heat for 5 minutes at medium high setting. When you place your palm 3 inches above the skillet, you should feel the heat.
- Place the pita round over the hot skillet and cook for 2 to 3 minutes, until you start noticing a few puffed up spots and the bottom has a few brown spots. Flip the pita and cook the other side for 2 to 3 minutes. It should puff up nicely. If needed, flip pita to finish cooking. Cool and store pita breads as mentioned above.
Electric Stove - With Cooling Rack / Wire Roaster (Optional)
- This is a more fool proof method for puffed up pitas but they will be a bit too soft.
- Lightly oil a cast iron skillet and heat at medium high for 5 minutes, then place the pita round and cook for 1 to 2 minutes on both sides until you see few puffed up spots.
- Then transfer the pita round on to a wire roaster or cooling rack that has been placed on the smooth top/electric coil burner at high heat. The pita will puff up flawlessly, unless there is a tear in the dough.
Notes
- New to Baking: Start with all purpose flour or mix flours.
- Adding Extra flour: Go with touch and feel and use minimal flour.
- Dry Yeast: Use thermometer and check temperature recommendations. 110 degrees F for active dry yeast and 125 degrees F for rapid rise yeast.
- Pitas Don’t Puff Up? Your oven is not hot enough or skillet is not heated well.
- Best Oven Pita: Baked at highest possible temperature and in shortest possible time.
- Dough by Hand: Stir all ingredients using a strong wooden spoon. Then simply knead for 8 to 10 minutes.
- Make Ahead and Freezing: Freeze dough after it has risen and doubled in bulk. Baked pitas can be frozen in freezer safe bags.
- Leftover Dry Pita: Dried up pitas can be magically revived. Lightly spray with water in and out, and reheat at 350 degrees F for 2 to 3 minutes until warm.


Peter
WOWWW I'm suuuper impressed by how much yours puffed up! This is definitely a recipe that's gonna be kept in rotation. I've tried making stuffed pita before, but failed because they just wouldn't puff. This is perfection.
Roxana Begum
Yes, with all those tips surely it will work well. I am glad to brainstorm if needed.
Phenie
Thanks for this recipe. With extra time at home, I've been baking up a storm and this is a winner!
Roxana Begum
Glad it worked so well :)
Wanda Turner
I made these for my husband as we have a hard time finding good tasting whole wheat pitas in the stores. They are amazing. Now I've set a standard that store bought can't compete with. I doubled the recipe and added a teaspoon of honey to the initial yeast water. I also tried berry chia seed jelly today. Putting that on one of these fresh from the oven is so yummy!!
Biana
Thank you for this recipe for whole wheat pita bread! You explained the process so well, and made it sound doable. I love pita, and am going to try making it.
Roxana Begum
Thanks Biana for your lovely feedback.
Gabby
They look absolutely perfect! I've never made my own pita bread before but I'm definitely going to try it now. Thanks for the fab recipe.
Roxana Begum
So happy :)
Jeannette
I LOVE pita bread, and this whole wheat version sounds sensational! I know there'll be tonnes of flavour in this especially with the whole wheat flour. Thanks for sharing!
Roxana Begum
Thanks Jeanette. Yes, definitely more flavorful than all purpose flour. And with getting the gluten development to work, this turned out good.